CASE STUDY | Wear Monitoring of Iron Ore Crusher Hoppers
In-service, wear monitoring of carbide liners of an iron ore hopper in mining operations
Key deliverables
- Frequent, consistent and high-quality wall thickness trends ensure the customer always knows the condition of
the hopper and the current remaining life. - Wall loss trends enable to operator to predict and schedule maintenance requirements, reducing outage
frequency and time saving costs and maximizing production revenues. - Changes is wall loss rates can be detected and maintenance frequency can be increased or reduced as required.
- The system was installed on the outside of the hopper, increasing safety by reducing the exposure of
personnel to hazard such as working from height and rope access, as required to access the internals of the
hopper.
Overview
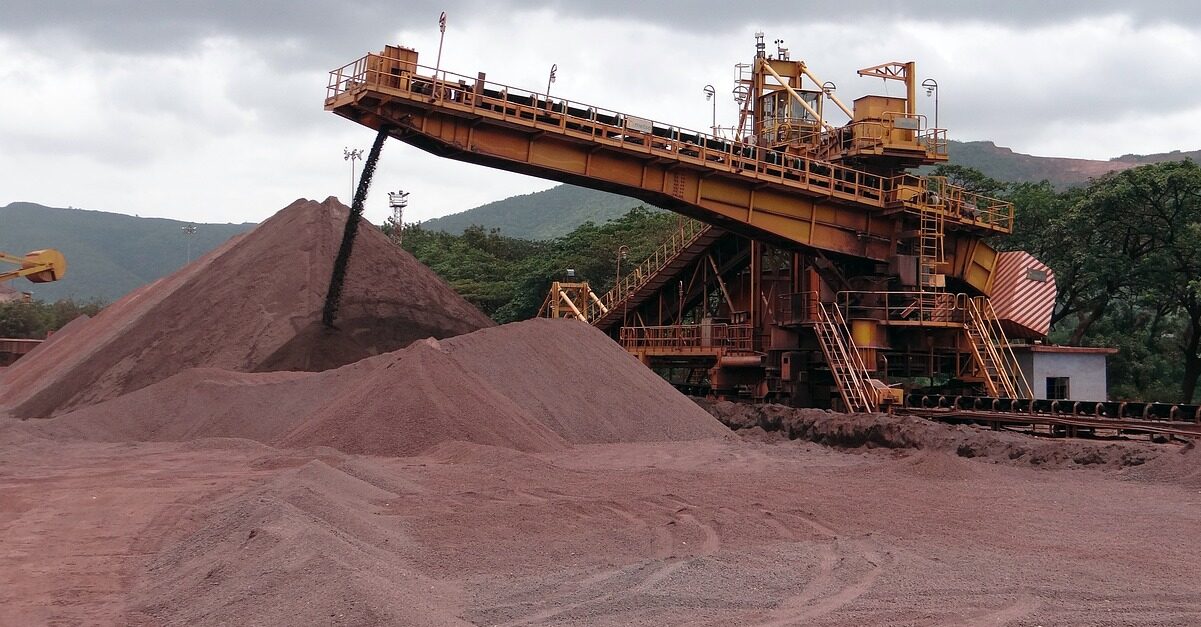
A multinational iron ore mine operator uses hoppers for storing and dispensing thousands of tonnes of iron ore which is crucial to the operation of the mining process as it is the only method for loading the ore product to the trains. The hoppers are susceptible to wear leading to failure, loss of containment and halting of mining operations. Uncertainty in the wear rate of the hoppers leads to an increased frequency and length of outages and reduction in revenues for the site.
To reduce the risk of failure, typically, the remaining hopper wall thickness is determined during shut-down and requires inspection personal to enter the hopper via rope access or equivalent, which impacts productivity and provides only periodic wear data. Invasive probes which provide real time data are sometimes applied but these items must be installed from the inside of the hopper, are consumable and lead to preferential wall loss.
A solution was sought to monitor the wear rate of the wear liner whilst in operation to allow the operator to always know the remaining life of the hopper to shorten outages and maximise availability and reduce cost and lost revenues.
The Challenge
There were a number of challenges around the deployment which required a flexible monitoring solution. The hoppers are typically manufactured from steel and fusion bonded with a wear-resistant chromium carbide overlay to extend the operational lifetime caused by the abrasive and corrosive nature of the ore. Once the lining is lost, the underlying metal can be quickly lost leading to a loss of containment and unplanned shutdown for unscheduled repairs that may take weeks or months to implement in the remote operating locations. The monitoring of the lining from the outside of the hopper is particularly challenging.
- Previous attempts to monitor wall loss required sensors to be in contact with the ore, and the weld interfaces acted as wall loss initiation points, accelerating wear. A non-invasive solution was required.
- Conventional ultrasonic testing (UT) of the wear liners from the outside of the hoopers is challenging due to the scattering characteristics of carbides, which require experts to make measurements. Access to the UT inspection ports can also only be completed during shutdown, reducing the inspection frequency leading to late detection and poor maintenance planning.
- The hopper is situated under tonnes of ore during operation, so must be maintenance free and robust.
The Solution
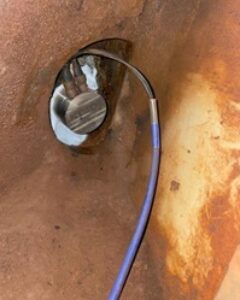
High sensitivity, high penetration HotSense™ DE ultrasonic thickness sensors were installed easily by site technicians around the outside of the hopper in pre-determined thickness monitoring locations (TMLs) using high strength, integrated magnetic fixings, along with epoxy bonds, for a robust, low-profile, non-invasive deployment.
-
HotSense™ sensors were paired with wireless Caliperay UT nodes, to allow twice-daily wall thickness measurements to be collected and transmitted wirelessly back to the control room.
- Wall loss trend data is collected and models generated in real-time to predict remaining life to plan repair and replacement in advance.

Execution
- The system solution was successfully deployed by site technicians easily and quickly during a planned shutdown where conventional inspection was taking place.
- Due to the exposed nature of mining operations, the sensors were sealed with putty to protect from the elements, and prevent water ingress to the interface of the sensor and steel hopper.
- The high penetration ultrasonic sensors were able to measure through 46 mm of carbon steel structure, and carbide wear layer, allowing traceable wall thickness data to be collected and viewed remotely.
- A small industrial WirelessHART network was established to connect the sensors to the control room, with remote connection for support and monitoring.
